Signup, trial and onboarding
Who this is for: the person creating the workspace and the first office administrator.
What you will learn: how to create the workspace, verify the address, complete onboarding and invite the team.
Create the workspace
- Open the central site and choose Register.
- Enter your name, email, phone and company name.
- Choose the workspace address (subdomain). This becomes
yourname.fieldelite.comin the demo. - Choose a password and confirm it.
- Select Register.
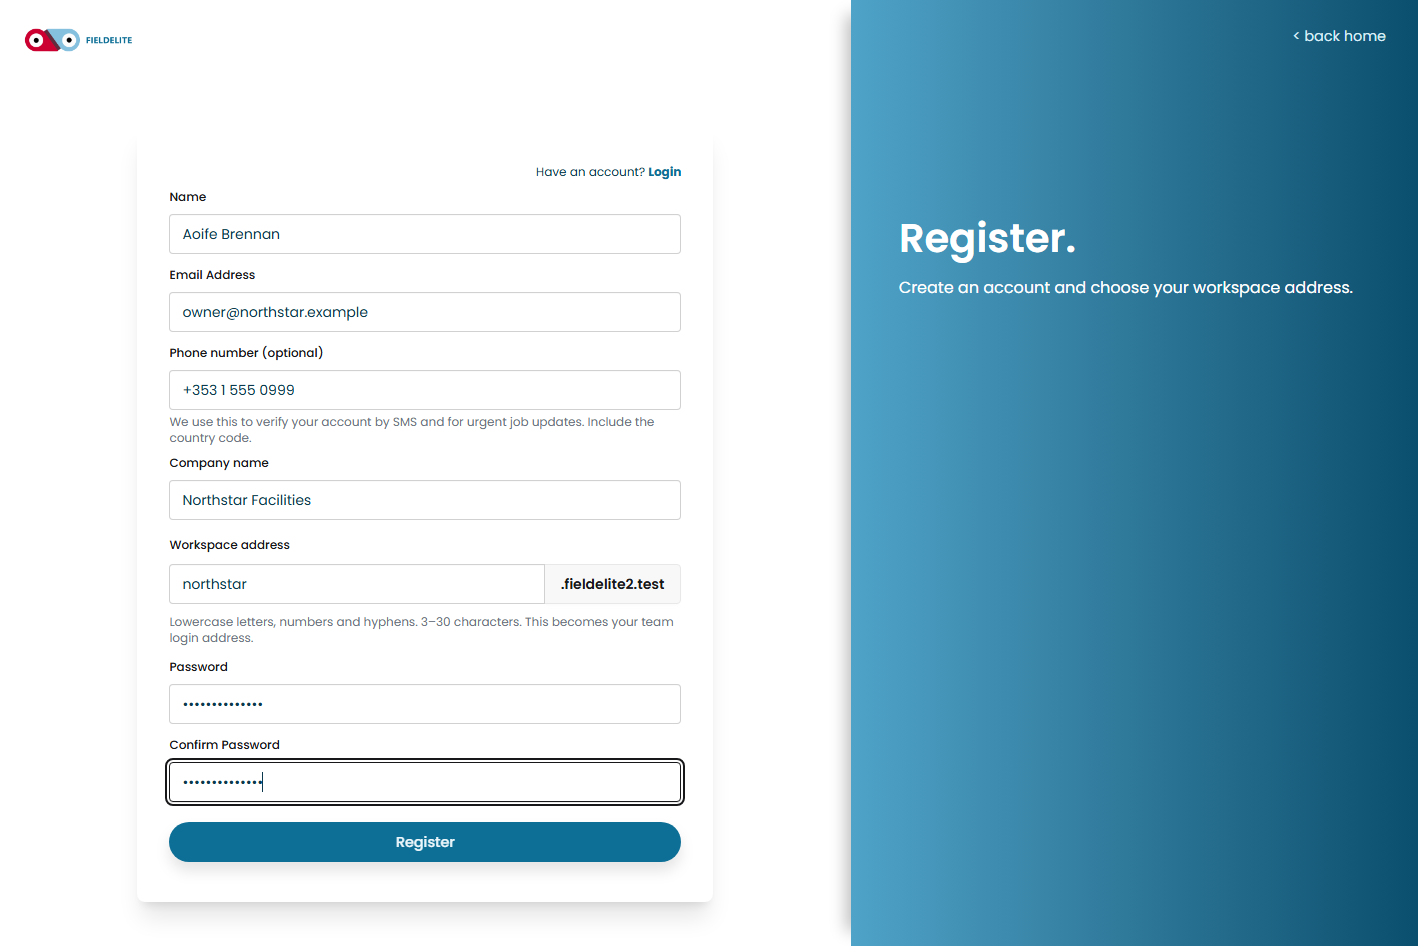
The workspace and its database are created immediately. You do not need a card for the trial.
Verify your email
The thank-you page shows the workspace address and tells you a verification link has been sent. Open the link, then sign in at the workspace address.
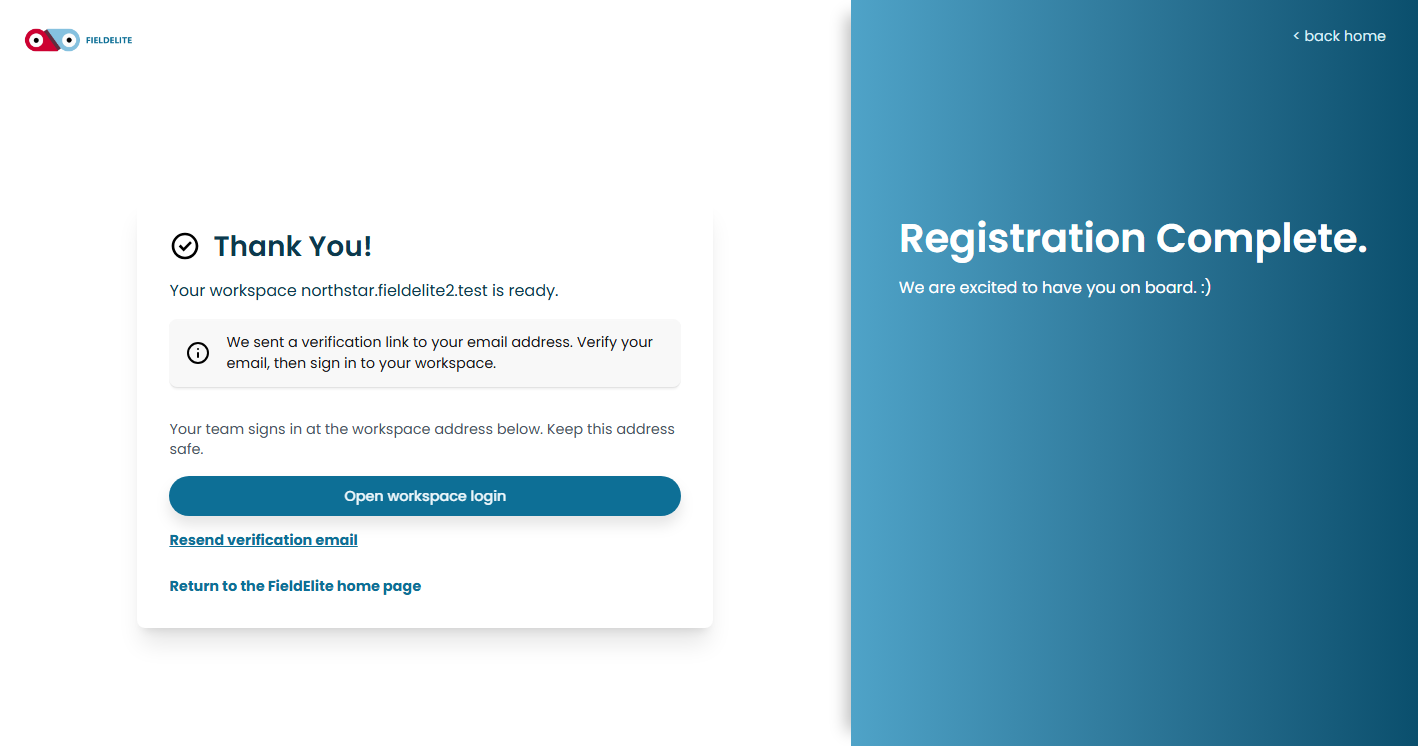
Tip: Save the workspace address. Your team signs in there, not on the central marketing site.
Complete onboarding
The first sign-in opens Set up your workspace in four steps:
Super user only: the onboarding wizard is available to the person who signed up and created the workspace (the tenant super user). Later tenant administrators and workers cannot open or submit it.
- Company profile — trading name, address, phone, contact email and website.
- Branding — logo and brand colour used on quotes, invoices and job sheets.
- Tax and documents — VAT number, default VAT rate, invoice prefix and first invoice number.
- How you work — trade, technician count and the tool you use today.
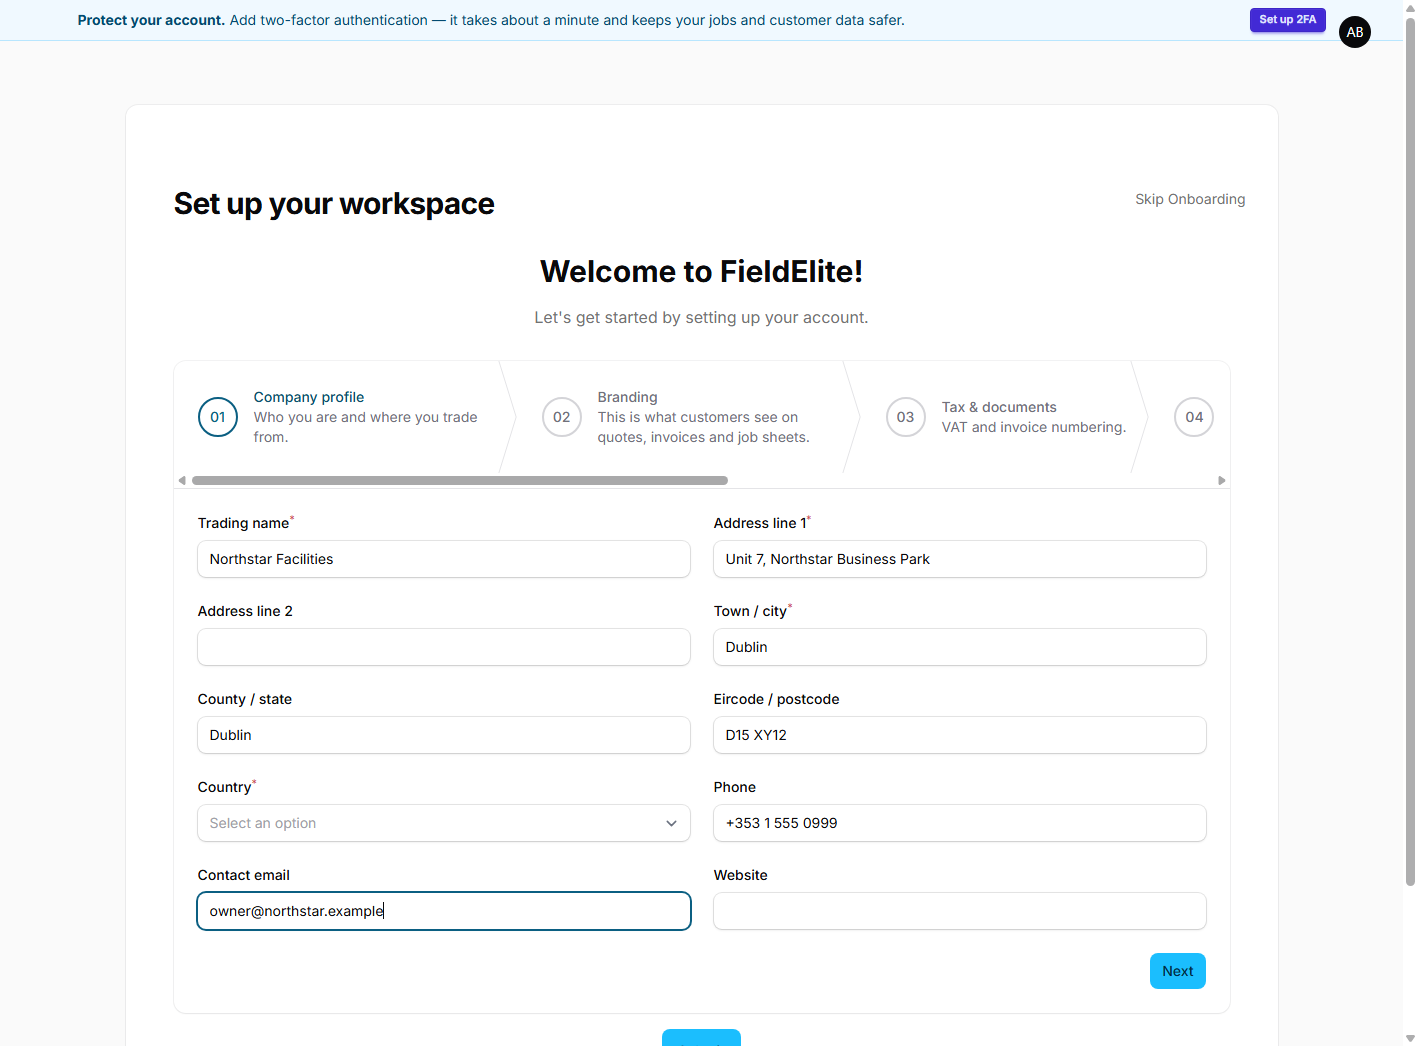
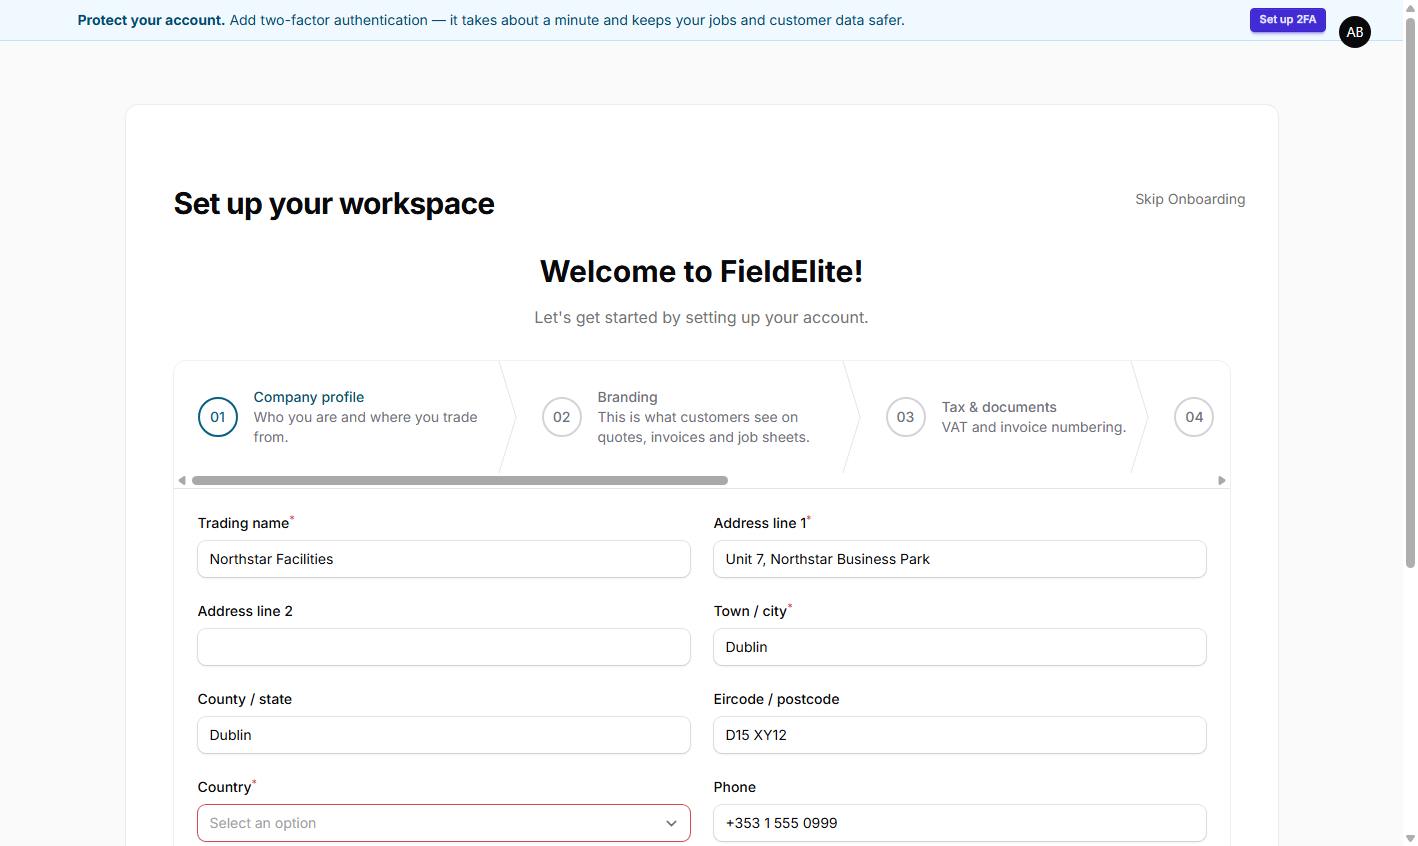
You can leave onboarding and finish later. The Finish setting up item stays in the sidebar until every step is done or skipped.
Invite the team
After onboarding, open Team and invite managers, dispatchers and workers. An invitation is tied to the email address. The invited person creates an account, verifies the email and joins the workspace.
After onboarding
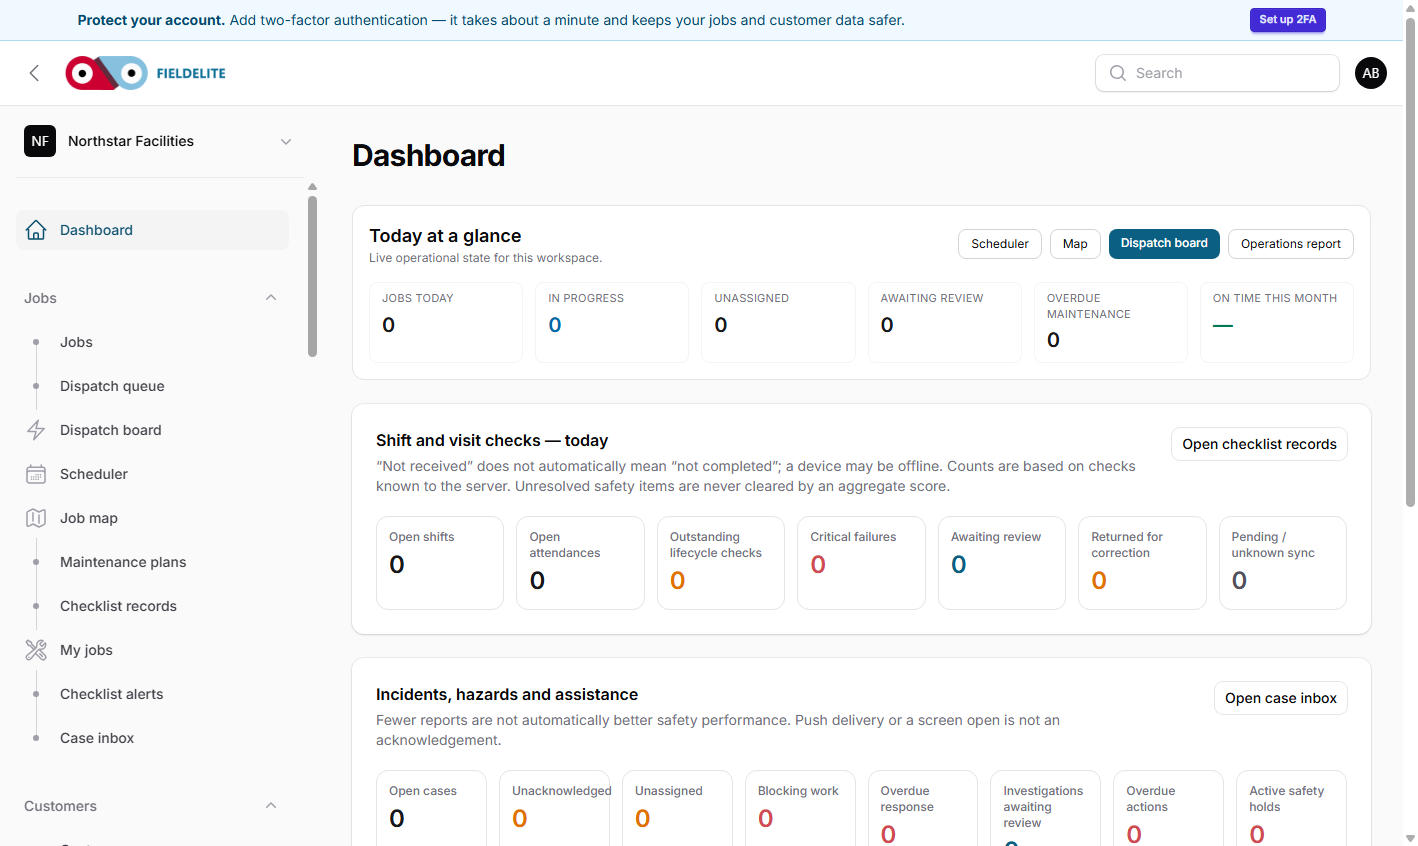
Next:
- Add your first customer and site.
- Add your products and tax rate.
- Create a job and assign it.
- Download the Android app or install the PWA.
Check your understanding
- When is the workspace database created?
- Why must the email be verified?
- Where do you change the invoice prefix?
Related: Getting started · Team, modules and settings · IoT alerts that create jobs
Related articles
Who this is for: everyone in the office workspace. What you will learn: where the help centre lives, how to search it, and how to get from a screen to the right article. Open the h...
Who this is for: office administrators, dispatchers, managers and finance users. What you will learn: how to sign in to the right workspace, find your way around, and set up your p...
Who this is for: office administrators, dispatchers and managers. What you will learn: how FieldElite models a customer, its sites and the people on site — and how to give a custom...
Who this is for: office administrators, dispatchers, managers and supervisors. What you will learn: how to raise a job, assign it, move it through the status workflow, and close it...